Showing posts with label how-to. Show all posts

Ampersand T-shirt DIY

A few weeks ago, I spotted Krystin in this fabulous ampersand tee and thought what a great DIY this would be. While it doesn't come out quite like hers, I kind of love the final product.

What you will need:
A tee shirt
A pen
Sewing pins
Fabric paint
A printer
Scissors

Start off with a plain tee in any color you choose. I picked up this gray one for about ten dollars at Target. They have just about every color but for some reason I am always drawn to gray.

Then, print out the image that you want to put on your shirt.  I recommend printing on cardstock or some other thicker paper as you will want something sturdy when you pin it later on. As I mentioned, I loved the ampersand on Krystin's shirt and wanted one of my own. You can do this DIY with any shape or symbol though.

The next step is to lay out your shirt on a flat surface. I chose my mini ironing board that turned out to be a perfect size. Plus, it was easy enough to move around and I was able to paint the fabric while sitting on the couch.

Be sure to put something underneath the fabric so the paint does not leak through. I used a magazine but cardboard or newspaper will do the trick too.

Cut out the image that you printed out. Once you figure out where you want the image on your shirt, pin it in place so it doesn't move while you trace it.

Trace along the image. I used a pen because I wanted an "outline" of black around the white but you can use a pencil or fabric pencil too. Just make sure that you know how it washes out (or doesn't) with the fabric you are using.
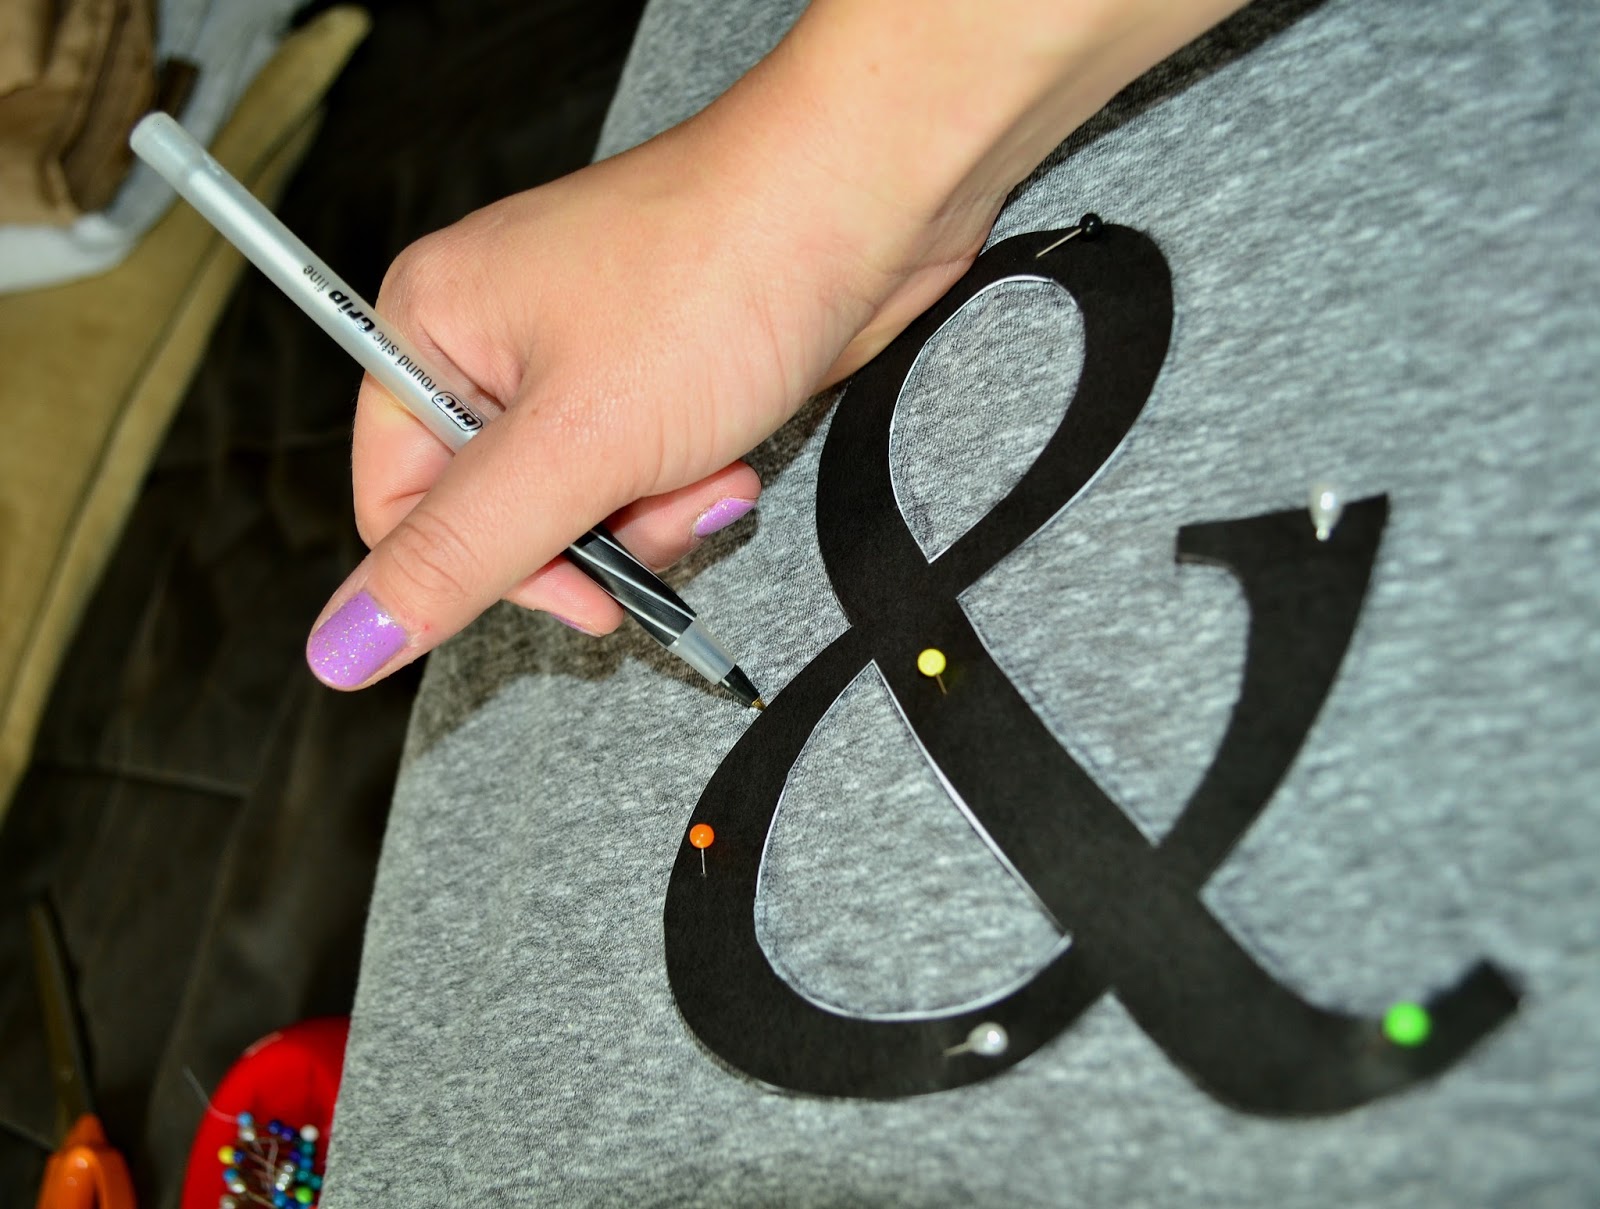
At this point, you can remove the pinned image and you should have a very light outline of your image drawn on the shirt.

Here is the fun part: paint in the image with any color you choose. After I printed the ampersand in black I almost went with black paint but am so happy I opted to stick with the white. 

Let the paint dry for about 24 hours and follow the washing instructions on your fabric paint.
Here is my final product:


Follow on Bloglovin

Don't forget to enter my giveaway to win a Shabby Apple gift card!

DIY Tray


While walking home from the running store over the weekend, I got inspired to hit up my local Goodwill and see what kind of DIY project I could find. I have been looking for a great frame to repurpose into a tray for awhile now and I got really lucky when I stumbled upon this beat up picture hidden in a corner at the thrift store. I instantly grabbed it and started planning out my afternoon project. If you want to make one of these DIY trays, here is what you will need:

An old frame, preferably one that is deep and at least one inch thick
A can of spray paint
A strip of fabric large enough to cover the cardboard inside the glass
Two door handles
Sandpaper
A screwdriver

 Here is the frame that I started with:


The first step in creating my tray was to take off the handle already on the frame and start sanding. I also took the glass and photo out of the frame while I worked on it. I didn't want to risk breaking the glass. I sanded it down just a little and took the frame outside to spray paint. I suggest spray painting the frame first so you can work on the other portions of the project while the paint dries.

The next step is to take your fabric and staple it to the cardboard. You can glue the fabric if you'd like but staples hold really well and there is no drying time. If you look closely below, you can see my staples.


Full view of stapled cardboard. *Hint: make sure to pull the fabric really tight so you don't have any wrinkles when you put it in the glass.

The next step (once the paint is dry) is to screw the door handles into the frame. You can get as fancy as you'd like with the handles, but I just wanted some simple ones and grabbed these for $2 each at Home Depot. 

Once the handles are screwed on, you can put the glass and fabric/ cardboard piece back in. Close the holders in the back and your final product is complete.


I put the tray on my coffee table and added a few accent candles. My living room is black, white and red and this new piece ties in well with the theme.