Showing posts with label sewing. Show all posts

New Pillows: DIY

After spending yesterday inside due to the "snowquester" I decided to get crafty and re-do some of the pillows I had lying around. I went to the fabric store around 5pm and decided I needed some brighter pillows to dress up the black and white theme in my room (I am sure the black and white theme surprises you). After wandering around the fabric store with no real direction, I settled on some flannel fabric because I figured that, worst case, the pillows would at least be soft. I fell in love with this purple and instantly bought a yard. 
I came home and immediately took off the ugly covers that came with my ikea futon pillows 4 years ago and ripped the stuffing out of the pillow. I never thought these pillows were very soft so I decided that taking them apart completely was my best bet. 
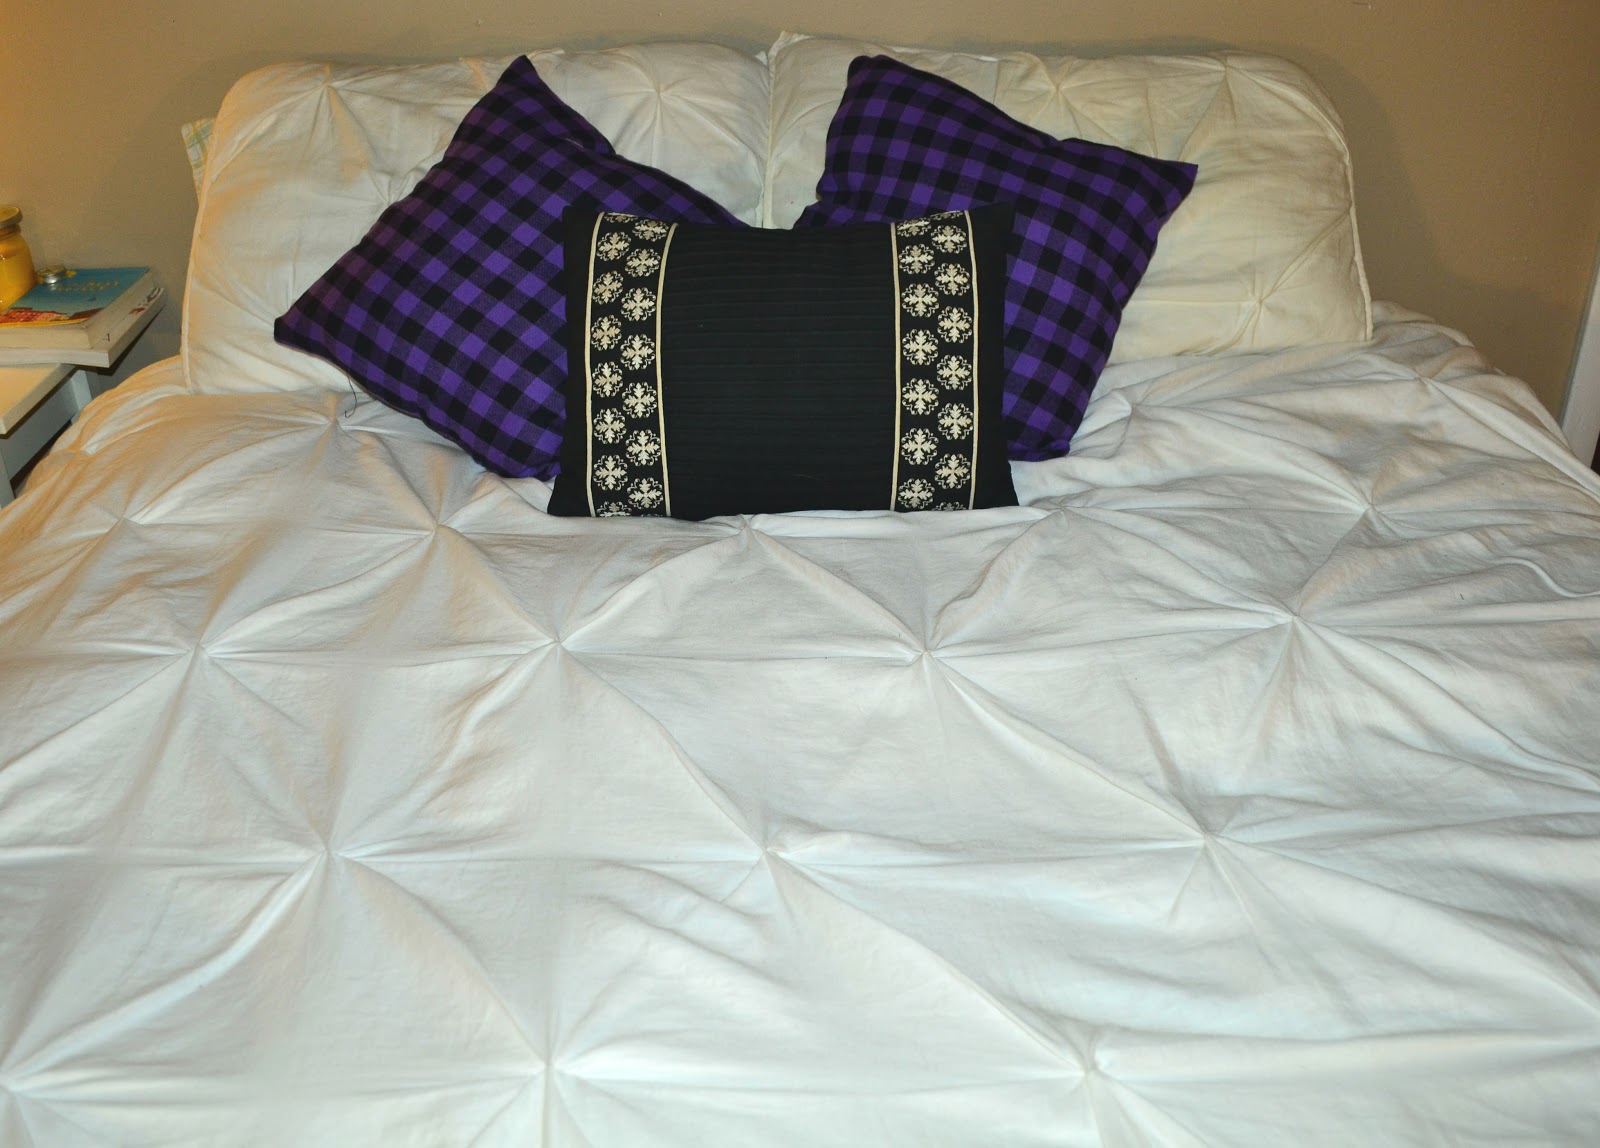
I never took the time to think about how easy sewing pillows would be, but they only took about 10 minutes a piece, including the cutting of the fabric, the pinning of the fabric and the actual sewing. In less than half an hour I had a whole new look for my bedroom. I couldn't be happier with my pillow update and am excited to start planning my next DIY. 
If you missed my headboard DIY you can check it out here


Ronen Chen


Dress: c/o Ronen Chen  Tights: Assets  Boots: Bandolino  Watch: Michael Kors  Bracelet: Stella and Dot  Sunglasses: Ray-Ban  Necklace: Betsey Johnson Similar Style

A few weeks ago, I shared this outfit that I received from Ronen Chen. I was so impressed with how comfortable that outfit was, I am not sure why it took me so long to put this dress on. When I first got the dress, I thought the length was a little long for my body, so I grabbed my trusty sewing machine and shortened it by a few inches. I am now in love with this dress. It is so comfortable and the cut is really flattering. I am so happy I decided to take the bottom up! I plan on wearing this dress a lot more in the future. It is a great piece to throw on with tights and boots or maybe even some cute sandals in the spring.

DIY: Infinity Scarf Tutorial

A few weeks ago, I started a weekly sewing class with this fab lady. During our first three classes, we went over the steps to make a simple tote bag. I instantly fell in love with sewing and wanted to make as many things as possible. Not really knowing what I was doing, I looked up a few ideas online and came up with the idea to make a scarf. Nothing too hard, but definitely something I could teach myself and potentially wear. 
My Tote Bag

I arrived to class a few minutes early this past Monday and decided to wander around the fabric store prior to heading into class. I decided that a neon scarf would be a perfect start to my sewing adventure. Going against the advice of my teacher, I grabbed a fabric under the clearance section, not really knowing what it was made of (and I still am pretty unclear). I figured it was best to play with cheaper fabric while learning, although the sales associate suggested I start with silk or sequins. Um, maybe in a few months.

Here is what I did to make my first infinity scarf
Items needed:

  • 3/4 yard of 60" fabric
  • Straight Pins
  • Measuring Tape
  • Thread (I used a contrasting color)
  • Sewing Machine
  • Iron
  • 10-15 minutes of time

1. Iron your fabric. The first step should really be wash your fabric, but honestly, I skipped ahead and just ironed mine.

2. Cut one strip of fabric to be 60" wide and 25" long. Fold fabric in half with RIGHT sides of fabric facing. Pin fabric together along long edge. Leave about 4" on each side.


3.Sew along pins.
4. Turn scarf inside out so RIGHT sides are facing out. Match up seams on each side and pin in the middle of the seam. Continue pinning around scarf so RIGHT sides are facing each other. 
5. Sew around pins. Pull fabric through the last opening and then hand stitch the opening.


6. Wear scarf.